So you’re looking to treat yourself to a shiny new graphics card and upgrade your system with more graphical processing power.
Well, upgrading isn’t just as simple as buying a new GPU and popping it into your gaming machine. There are a few important things to know beforehand – like do you have enough power to handle the upgrade? Will it fit in your case? Will you have problems with bottlenecking? Read on to find out more.
Why upgrading your GPU is worth it
Upgrading your graphics card is one of the easiest things you can do to give your gaming PC a boost in performance.
It’s often the first thing that PC gamers upgrade and with good cause too because after all, it’s one of the main parts of the machine that powers graphical performance and gets you that all-important FPS.
Upgrading to the latest and greatest graphics card can make a big difference. Allowing you to play the newest PC games or just crank up the graphics settings to maximum. You’ll get more FPS, but you’ll also have access to newer technologies like Ray Tracing and Deep Learning Super Sampling (DLSS) or FidelityFX Super Resolution. Resulting in the best of both worlds – better graphics and smoother gameplay too.
If you’ve waited a few years to upgrade you’ll no doubt notice a large increase in performance. It is worth noting though that if your PC is really old but your GPU is brand new, you might risk bottlenecking your system.
Do you have enough power for a new GPU?
Aside from the improvement in graphical performance and the addition of new technology, the other thing that’s changed with modern GPUs is the increase in power requirements. The top-end graphics cards now require more power than older models so much so that you might need to think about upgrading your power supply unit too.
Nvidia’s RTX 4090, for example, can draw as much as 450 watts on its own. So Nvidia recommends at least an 850-watt power supply. Though you might want to consider something even more powerful than that. Especially if you’re running other power-hungry parts in your machine – a high-end CPU, loads of drives, masses of fans, etc.
If you’re unsure you can always use a power supply calculator to work out your system’s requirements and we’d recommend doing this before committing to an upgrade.
New power adapters (12VHPWR connectors)
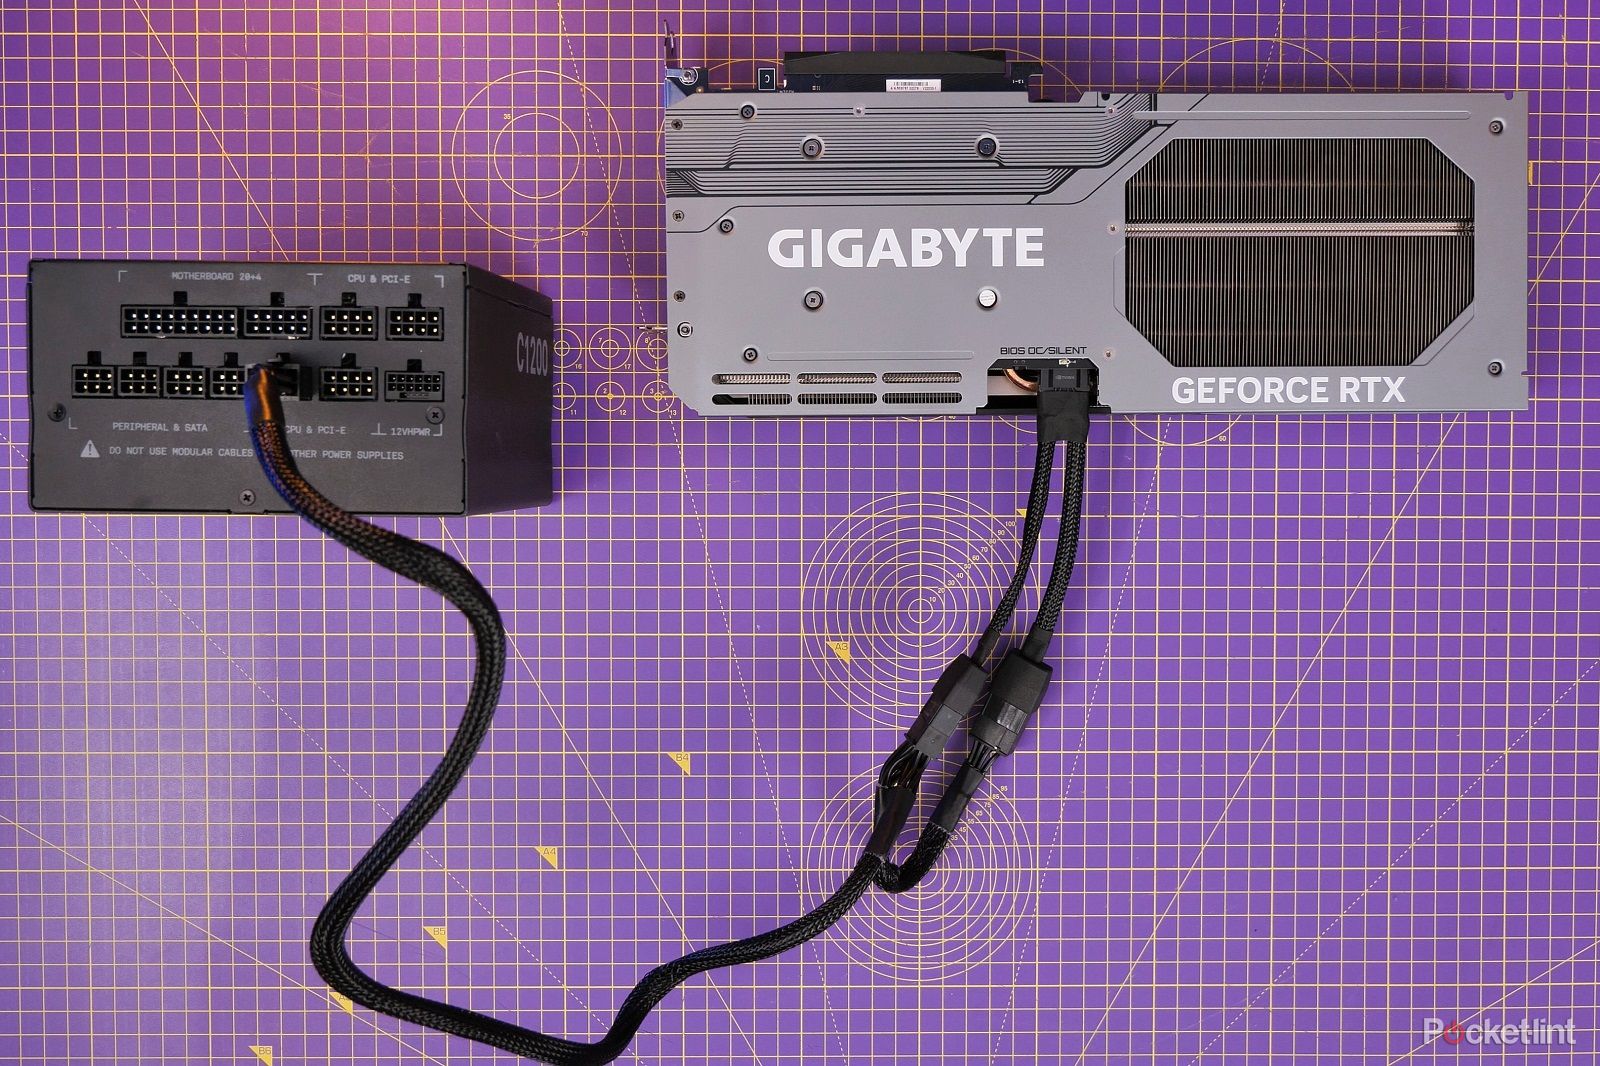
With Nvidia’s 40-series graphics cards, the company adopted a new PCIe 5.0 power connector (12VHPWR).
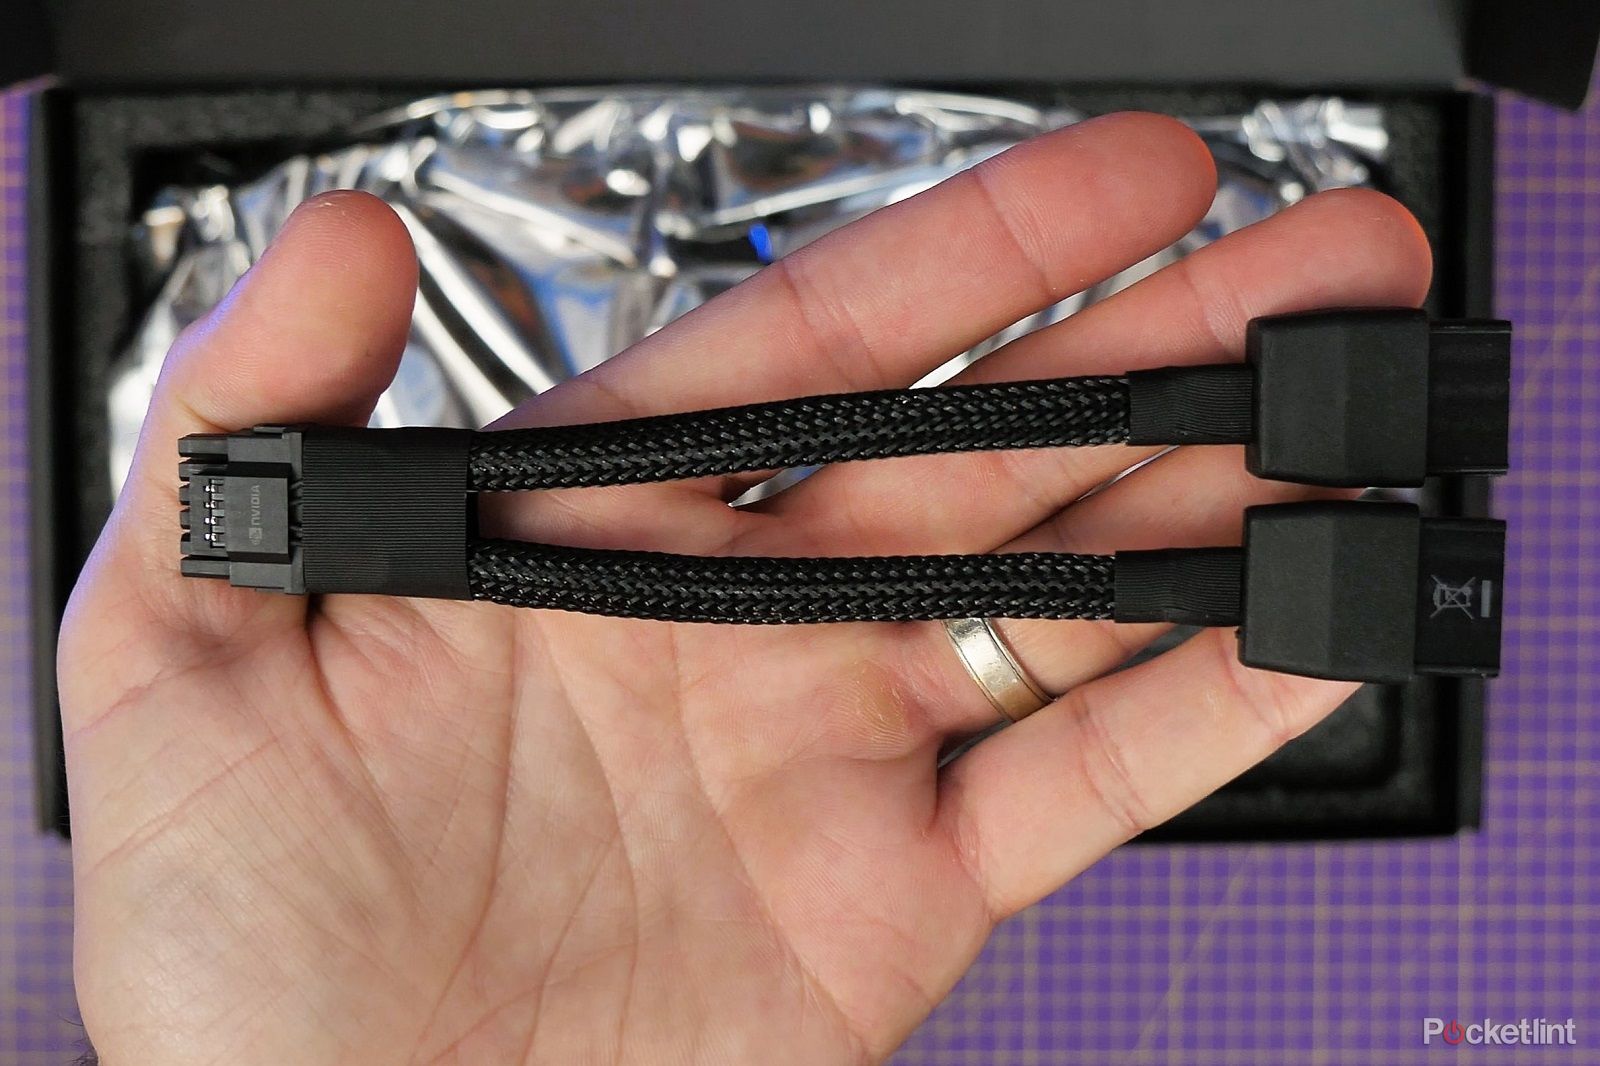
This is a different style of connector which can run as much as 600 watts through to the card via a single connector. Most of the 40-series GPUs come with an adapter which allows you to connect two, three or four 8-pin PCIe power cables into them.
Alternatively, you can now buy ATX 3.0 power supplies with dedicated a 600W PCIe 5.0 12VHPWR Type-4 PSU Power Cable that can run just one connector and make things look a lot neater.
It’s very important to ensure that both ends of these power cables are connected fully though, as loose connections are what caused the issues with overheating when the cards first launched.
Remove the old graphics card
Assuming everything else is ready and you have your new graphics card in your possession, then it’s time to start the process of swapping things around.
- Be sure to unplug your system and all cables before you start
- Lay it on a flat surface and ground yourself if possible (anti-static wrist strap)
- Open up the case
- Unplug the power cables from your old GPU
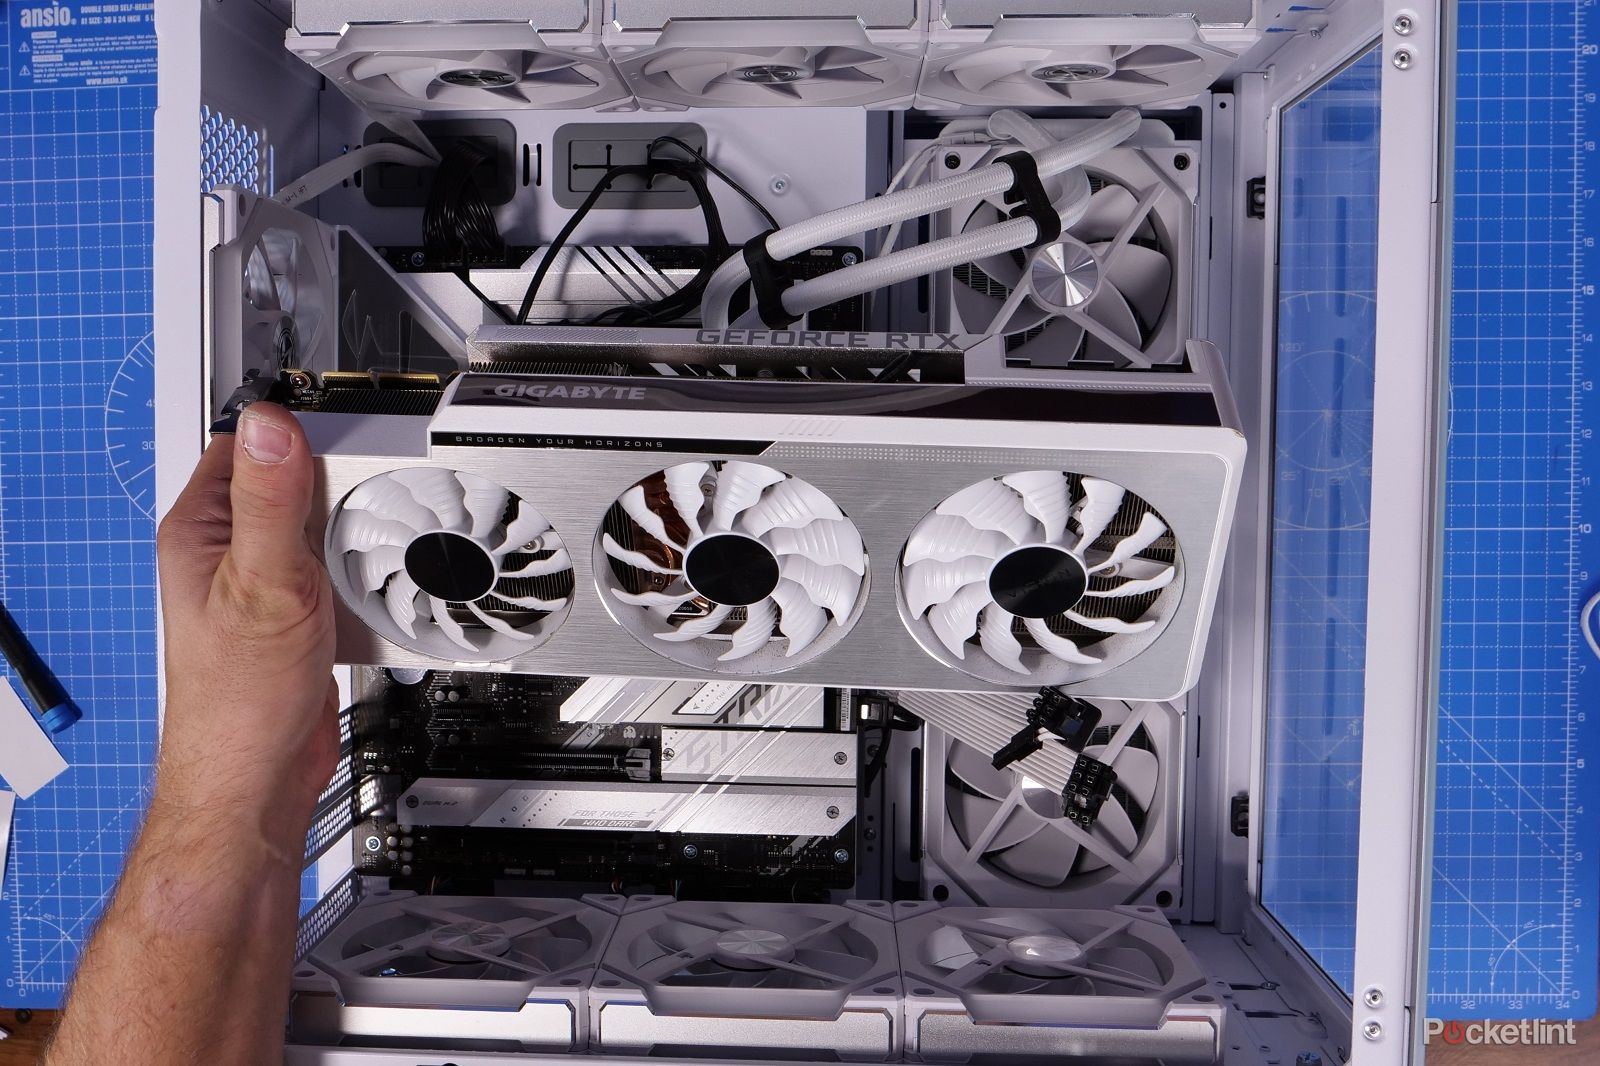
- Reach behind the card onto the motherboard and push the latch of the PCIe x16 slot to loosen it
- Remove any screws or thumbscrews holding the card into the case
- Tug gently to pull it out
- Set the old GPU aside
How to install the new graphics card
Gigabyte RTX 4070 ti 12gb gaming oc
A powerful 40-series card with access to DLSS 3, ray tracing and more.
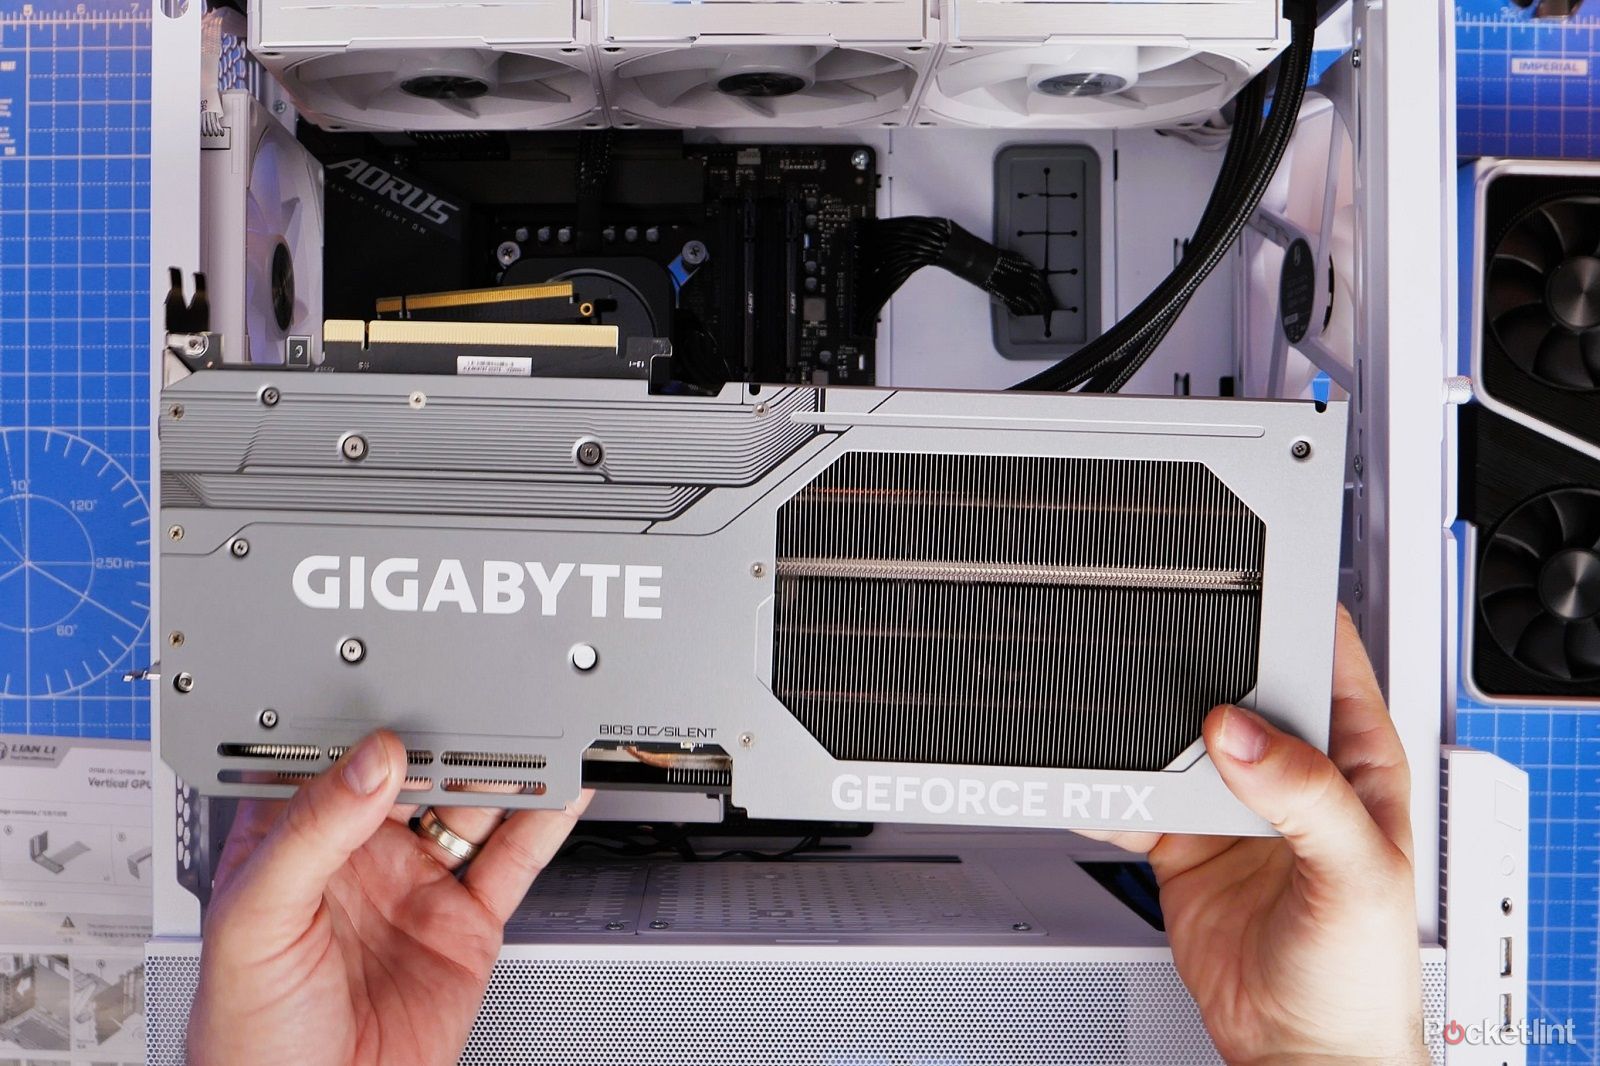
The next step is to install the new graphics card, which is basically just reversing the removal process – but making sure you have the right power cables installed too.
- Check the size of the GPU to make sure it fits in the case
- Check how deep it is as you might need to remove more backplates from the case
- Lower the GPU into the case and place it in the top PCIe x16 slot for the best performance
- Gently push until you hear a click
- Plug the power cables in
- Rebuild the case and reconnect all your cables
- Power on
Install the latest drivers and optimise your system
Now you have a new graphics card installed you’ll want to ensure it runs smoothly. So the first thing to do is be sure you have the latest drives and there are no conflicts.
The best way to do this is to do a clean installation. We’d recommend downloading and using Display Driver Uninstaller to remove old drivers before installing new ones.
This is important when swapping to a new series of graphics card, but also when changing between AMD, Intel and Nvidia. Remove the drivers and upgrade to the latest ones.
We’ve written a detailed guide on how to upgrade Nvidia graphics drivers if you need help.
Once you’ve done that there are a number of settings that you can tweak in order to maximise performance and improve FPS. We’d also recommend optimising your system for gaming too while you’re there.
Check your refresh rate
When you have everything set up don’t forget to check that you are making the most of your new graphics card. If you’ve got a good gaming monitor chances are it’ll have a high refresh rate.
You’ll want to tweak your hardware settings to make sure you have the right refresh rate settings on the monitor and on your PC too. Don’t forget to turn on G-Sync too.
Trending Products

Cooler Master MasterBox Q300L Micro-ATX Tower with Magnetic Design Dust Filter, Transparent Acrylic Side Panel…

ASUS TUF Gaming GT301 ZAKU II Edition ATX mid-Tower Compact case with Tempered Glass Side Panel, Honeycomb Front Panel…

ASUS TUF Gaming GT501 Mid-Tower Computer Case for up to EATX Motherboards with USB 3.0 Front Panel Cases GT501/GRY/WITH…

be quiet! Pure Base 500DX Black, Mid Tower ATX case, ARGB, 3 pre-installed Pure Wings 2, BGW37, tempered glass window

ASUS ROG Strix Helios GX601 White Edition RGB Mid-Tower Computer Case for ATX/EATX Motherboards with tempered glass…


